For this tutorial, we'll be managing DNS settings via Cloudflare. The settings shouldn't differ much for the domain registrar you're currently using - however, not all registrars allow you to edit SRV records directly. You may need to contact them to do this.
For less hassle, you may wish to consider switching your DNS to Cloudflare. It's free, you don't need to change your hosting provider or move away from your registrar. The only change you make with your registrar is pointing the authoritative nameservers to Cloudflare's name servers.
If you do not change your nameservers to Cloudflare, then this guide will not work for you.
Most hosting providers and registrars should offer the ability to manage your domain's DNS settings - if you do not wish to switch to Cloudflare, we recommend contacting whomever currently manages your DNS settings for further assistance.
If you're interested in using Cloudflare, you can sign up on their website at www.cloudflare.com - they'll guide you through getting it set up. Guides on switching name servers to Cloudflare can be found on their Support Article.
Configuration
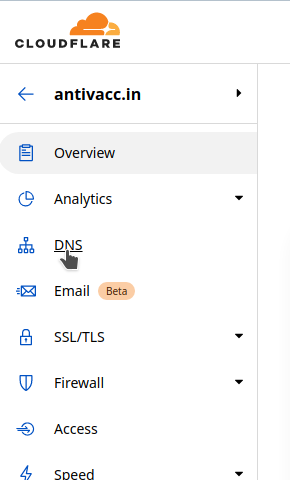
First, log in to the Cloudflare Dashboard and select the domain you wish to use. Then, on the left, click DNS.
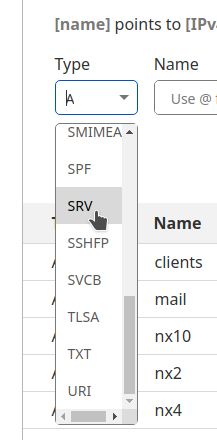
Click 'Add record', select "SRV" for entering a new record, like in the following screenshots: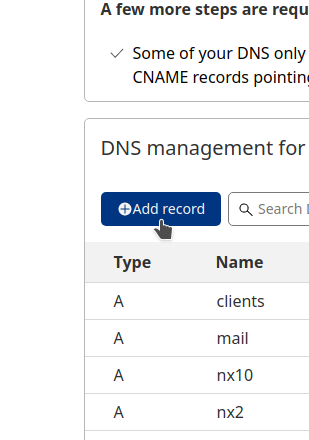
In the fields, fill out the settings as follows:
- Service:
_minecraft - Protocol:
tcp - Name:
[subdomain]
- This is the subdomain you'll use for connecting to your server. For example, if your domain is
example.com, and you wish to connect viaplay.example.com, you would enter justplayin the field. If you wish to connect directly usingexample.com, you would enter@in the field.
- This is the subdomain you'll use for connecting to your server. For example, if your domain is
- Priority:
0 - Weight:
1 - Port:
[port]
- Enter the port number of your Oddblox Server - if your full server address is
s2.oddblox.us:25628, you would enter just25628
- Enter the port number of your Oddblox Server - if your full server address is
- Target:
[address]
- Enter the address (without the port) of your Oddblox server - for example, just
s2.oddblox.us
- Enter the address (without the port) of your Oddblox server - for example, just
With the settings all filled out, your configuration should now look similar to the following screenshot: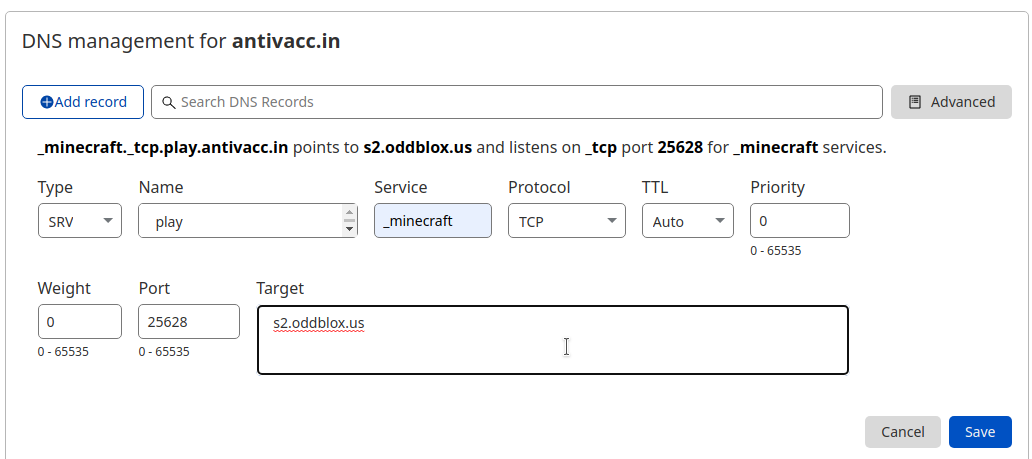
These settings allow us to connect to our demo server using the address play.antivacc.in
Save your settings, and you're done! Please note that it can take several hours for the DNS information to propagate, meaning you may not be able to connect to your server using the new information immediately.
